World's Smallest 4 Stroke Working Semto Engine, Assembling & Startup By AliMECH
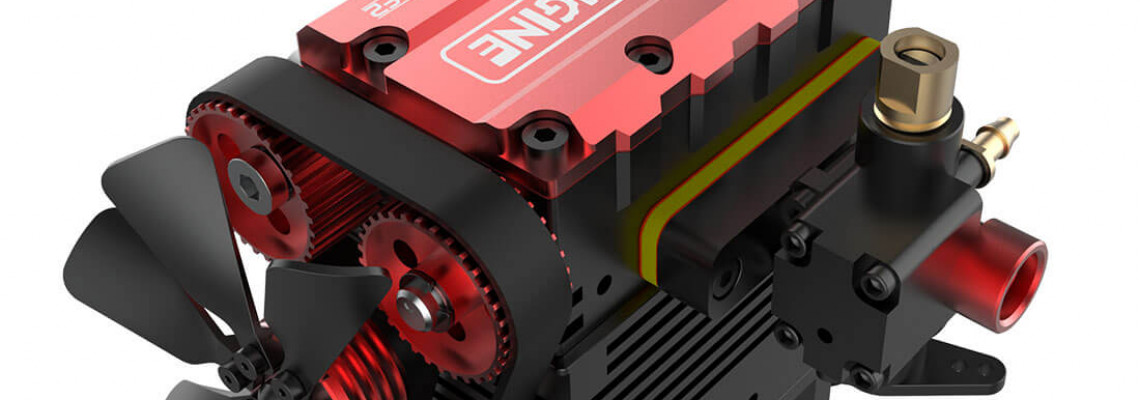
Today, we will work on the Semto engine ST-NF2, one of the most miniature four-stroke engines in the world and is functional. It is a genuine engine, and I'll demonstrate the components and the assembly procedure before turning it on. The assembly instructions are available for download and are simple to follow.
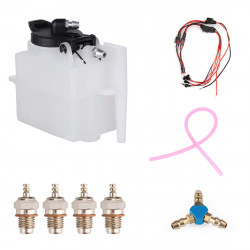
First, let's address the engine cover. Its remarkable quality is particularly noteworthy given the compact size of the engine. This is the fuel tank, and we will add 20 to 25 percent natural fuel.
This glow plug works like a spark plug when the engine uses nitro fuel. It replaces the spark plug in this case. Since nitro gasoline contains oil and will continuously lubricate the engine, you don't need oil in that engine. The engine includes all the hardware and equipment required to assemble the engine kit and finish this build.
I will use high-temperature grease since nitro fuel cannot reach the higher portion of the engine to lube the camshaft and rocker arms. Additionally, we'll need some regular oil once more to lube the pistons and seals during assembly. To prevent problems when starting the engine, I follow this procedure. I start at the crankshaft and lubricate every seal and bearing before reassembling everything.
I advise wearing gloves during assembly because the cylinder block is CNC cut and contains several sharp edges. With some oil lubrication, the precision of the parts is quite good and exact.
I didn't need to use any force to move anything. Everything should fit into place easily. If not, you risk damaging them.
Use a powerful oil to make your work more straightforward and less messy. I can use a thinner oil grade and apply a few drops where necessary to ensure that moving parts remain unimpeded. What I have on hand is 0w20 viscosity oil, which I used for my 2017 Toyota Camry.
I don't have a Torx screwdriver right now. However, I have seen others use them. They check that all the bolts have the same torque. This way, there won't be any problems.
Installing it is pretty simple. Once you install the camshaft and crankshaft timing, there are no extra parts included. Be careful with the small pieces to avoid breaking anything.
When the camshaft rotates smoothly and produces a suction sound, it operates. Since natural fuel can't reach the upper part of the engine, I will lubricate it next.
I will use high-temperature grease for the camshaft and rocker arms. I will thus apply two drops of grease and use a tiny brush to separate it. After that, carefully install the gasket, align the holes, and install the engine cover.
You can easily install the following component, and you won't install it incorrectly. It is self-explanatory; even if incorrect, it can be removed and reattached correctly.
It won't be disassembled in the same way as the engine. The fact that this engine has its starter, just like a real engine, is one of my favorite features. Most little engines require puller handles to start, but this one has its starter.
Okay, the engine assembly is almost complete and even looks model-like. Next, the team will install glow plugs, followed by wiring for the engine and tank mounting from International Sketch Up and Designer Base.
It will be 3D printed in a few hours. This will keep everything organized. I won’t need to do anything.
I mount the engine with four more M4 screws and the tank with two more screws. After adding glue plug wires that precisely resemble spark plug wires, turn on your wires. Okay, the assembly is almost complete. It required twelve hours to 3D print the engine base and two and a half hours to move the camera.
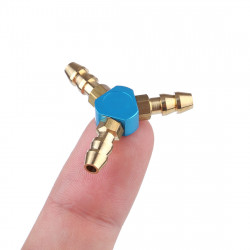
To help the engine pull in fuel better, I will install the fuel line pipe quickly as my last task. Okay, gentlemen, don't try to operate this engine in a closed space. We're outside, filling the gasoline tank with 25% nitro fuel. Attaching the starter wire and glow plug wires to a 12-volt battery.
After that, let's press the starter button to test the system. It cut off the throttle. So, let's get going again and try to reduce the RPM later.
Okay, it works much better now that I can lower the throttle. However, it is on the ridge side and needs more gasoline to flow into the carburetor. I had to adjust it afterward, but other than that, it's pretty neat. This engine's functionality and attention to detail greatly excite me.
We looked at the small four-stroke engine. We watched how they put it together.
It was exciting to start it up. We learned more about how it works. This fantastic invention is impressive and valuable, in addition to imitating a real engine.
Every detail matters. This includes the glow plug, gas tank, engine cover, and lubricated parts. Each part helps the model function realistically.
With these Semto engine kits, your students can combine theory and hands-on learning. They will gain skills to maintain, tune, and repair 4-stroke nitro-powered engines. This is a great gift for experts and car enthusiasts.
The instructions with the product make assembly more accessible, even if it still requires attention to detail. Carefully handle the pieces, keep them lubricated, and avoid any damage during assembly. Using premium oils and greases with the appropriate equipment improves the experience.
